
Are you considering wallpapering your walls and wondering how to navigate around outlets and switches? Look no further! At Coverswallcoverings.com, we’re here to help guide you through the process. In this article, we’ll provide you with practical tips and techniques to ensure a seamless and professional-looking finish when wallpapering around outlets and switches. Whether you’re a seasoned DIY enthusiast or a novice looking to tackle your first wallcovering project, we’ve got you covered. Let’s get started!


Preparation
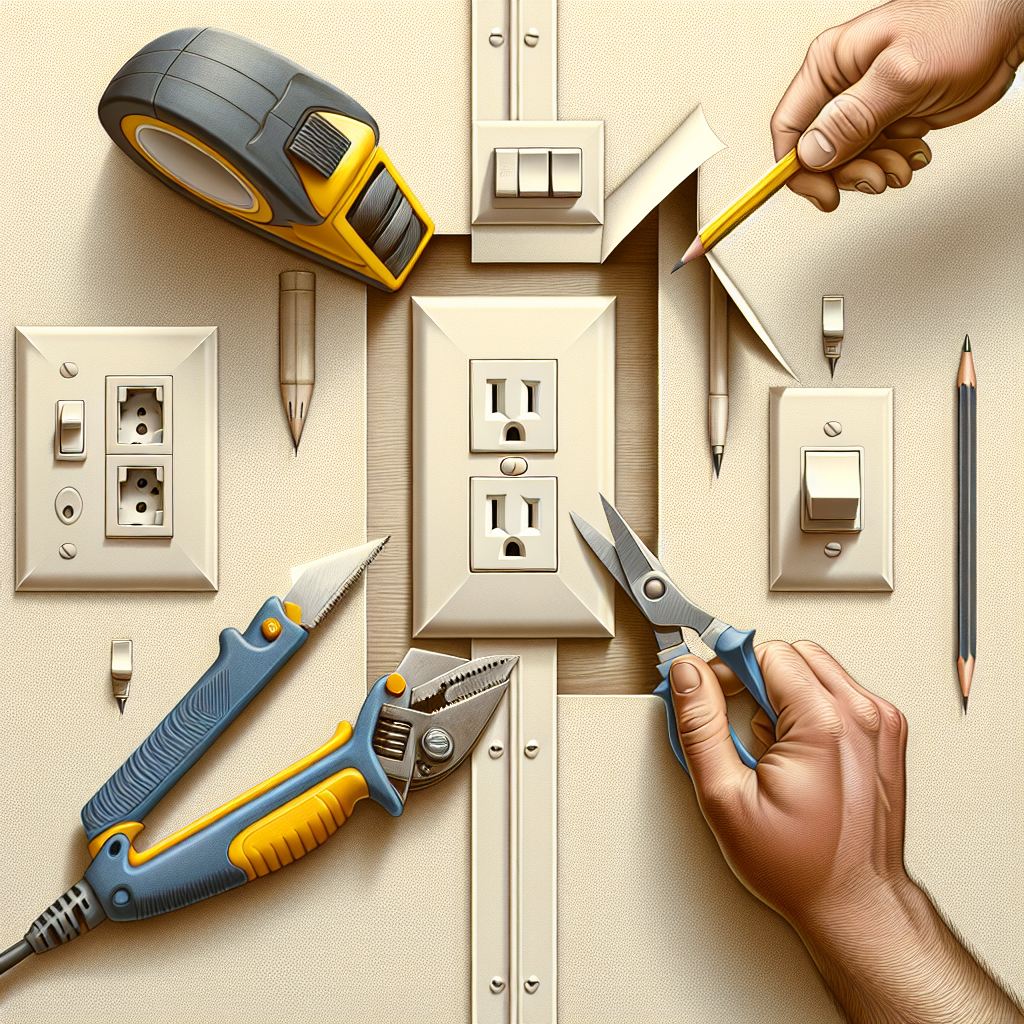
Before you begin wallpapering around outlets and switches, make sure you have all the necessary tools and materials on hand. This includes wallpaper, a utility knife, a straight edge, wallpaper paste, a wallpaper brush or smoothing tool, and outlet and switch covers. Having everything ready beforehand will save you time and ensure a smooth process.
To prepare the walls for wallpapering, start by cleaning them thoroughly. Remove any dirt or debris that could affect the adhesion of the wallpaper. It’s also a good idea to sand down any rough patches or imperfections on the wall surface.
Before you proceed, turn off the power to the outlets and switches to ensure your safety. This step is crucial and should not be skipped. Locate the circuit breaker or fuse box, and switch off the power to the specific area you’ll be working on.
Next, remove the outlet and switch covers from the wall. This will make it easier to work around the openings and achieve a seamless wallpaper installation.
Cutting Out Wallpaper Openings
To ensure a neat appearance, it’s important to accurately measure the dimensions of the outlets or switches before cutting the wallpaper. Use a tape measure to determine the width and height of each opening.
Transfer these measurements onto the wallpaper. Mark the dimensions clearly, ensuring that you have enough space to cut out the openings without removing too much of the pattern.
Using a sharp utility knife, carefully cut out the openings according to the marked measurements. Take your time and work slowly to avoid any mistakes or unnecessary damage to the wallpaper.
Once the openings are cut, test fit the wallpaper around the outlets and switches. Make sure the openings align properly, and the wallpaper sits flush against the wall. Adjustments may be necessary to achieve a seamless fit.


Matching Patterns
When wallpapering around outlets and switches, it’s essential to ensure pattern alignment across the wall. This step is crucial for achieving a professional-looking result.
To match the wallpaper patterns around outlets and switches, carefully cut the wallpaper to match the pattern. Use a straight edge to guide your cuts and maintain accuracy.
When positioning the wallpaper, pay close attention to aligning the patterns at the seams. This will create a seamless look once the installation is complete. Take your time and make any necessary adjustments to guarantee a perfect match.
Adhering Wallpaper Around Outlets and Switches
To adhere the wallpaper around the outlets and switches, apply wallpaper paste to the back of the cut wallpaper. Use a brush or a smoothing tool to distribute the paste evenly.
Smoothly position the wallpaper around the openings, ensuring that it adheres well to the wall. A wallpaper brush or smoothing tool can help you achieve proper adhesion and eliminate any air bubbles or wrinkles.
Trim any excess wallpaper around the outlets and switches using a utility knife. Be careful not to cut too close to the openings, as this could result in a less precise finish.

Dealing with Multiple Outlets or Switches in a Row
If you have multiple outlets or switches in a row, it’s important to plan your installation accordingly to maintain symmetry.
Measure and mark the centerline of the wall to determine the starting point for installing the wallpaper. This will help you position the first piece accurately.
Calculate the spacing between the outlets or switches to ensure an even and balanced look. This step is crucial, as any mistakes can disrupt the overall aesthetic.
Cut and position the first piece of wallpaper, making sure it aligns with the centerline and maintains a consistent pattern. Then, continue with the remaining outlets or switches, following the same process.
Installing Outlet and Switch Covers
After wallpapering, it’s important to allow the wallpaper to dry completely before proceeding with installing the outlet and switch covers. Consult the manufacturer’s instructions for the recommended drying time.
Once the wallpaper is dry, replace the outlet and switch covers. Ensure proper alignment and secure attachment to guarantee a finished look that complements your wallpaper.
If any excess wallpaper is peeking out of the openings, carefully remove it using a utility knife. Be cautious not to damage the newly installed wallpaper or the cover itself.
Tips and Tricks
When working around live outlets or switches, take extra care to avoid any accidents. Ensure the power is turned off and use caution when cutting or positioning the wallpaper.
Always use a voltage tester before working around electrical components to ensure your safety. This will help you confirm that the power is truly turned off and prevent any potential hazards.
Consider using peel-and-stick wallpaper for a more straightforward installation. Peel-and-stick wallpaper eliminates the need for wallpaper paste and allows for easier repositioning if needed.
Working slowly and methodically throughout the entire process will yield better results. Rushing may lead to mistakes, misalignment, or a less polished finish.
Common Mistakes to Avoid
One common mistake is cutting the openings around outlets and switches either too large or too small. Measure carefully and double-check your measurements before cutting.
Misaligning the patterns around outlets and switches can result in an unprofessional and visually unpleasing finish. Take your time and ensure the patterns align seamlessly.
Always remember to turn off the power before starting the process. Neglecting this step poses a significant safety risk.
Failing to remove excess adhesive or air bubbles can result in a less-than-perfect finish. Smooth out any air bubbles and wipe away any excess adhesive with a damp cloth during the installation process.
Frequently Asked Questions
Can I wallpaper directly over outlets and switches?
It is not recommended to wallpaper directly over outlets and switches. This can make it difficult to access them when needed and can also be a safety hazard. It’s best to cut out openings in the wallpaper to fit around outlets and switches.
How do I remove wallpaper without damaging the outlets and switches?
To remove wallpaper without damaging the outlets and switches, start by scoring the wallpaper with a utility knife. Then, use a wallpaper steamer or a solution of warm water and wallpaper remover to soften and loosen the adhesive. Gently peel away the wallpaper, taking care not to damage the outlets and switches.
What should I do if the wallpaper pattern doesn’t align around the outlets and switches?
If the wallpaper pattern doesn’t align perfectly around the outlets and switches, you can try adjusting the positioning of the wallpaper or cutting the wallpaper to match the pattern. If necessary, you can also use wallpaper border or trim to create a more seamless transition between the wallpaper and the outlets/switches.
Can I paint the outlet or switch covers to match the wallpaper?
Yes, you can paint the outlet or switch covers to match the wallpaper if desired. Make sure to use paint that is compatible with the material of the covers and follow proper painting techniques for a professional-looking result.
Conclusion
Wallpapering around outlets and switches can be a challenging task, but with proper preparation and careful execution, you can achieve professional-looking results. By following the steps outlined in this article, you can enhance the aesthetics of your walls and create a visually appealing space. Remember to take your time, work methodically, and keep safety in mind throughout the process. Happy wallpapering!
